
Food Photography In the age of social media and digital branding, food photography has transformed from a hobby into a powerful storytelling and marketing tool. Whether you’re an aspiring food blogger, chef, or social media enthusiast, knowing how to capture delicious moments visually is essential. Mastering the art of food photography doesn’t always require expensive equipment—it requires technique, creativity, and practice.
In this article, we’ll cover the top 10 food photography tips that will instantly enhance your skills and help your shots stand out.
Tip 1: Focus on Natural Lighting Food Photography
Why Natural Light Matters
Natural light creates a soft, warm, and realistic tone that enhances the textures and colors of food. Unlike artificial light, which can cast unwanted shadows or create harsh highlights, sunlight can make food look more appealing and fresh.
Best Practices
- Shoot near windows or outdoors during daylight hours.
- Avoid direct overhead sunlight that creates glare.
- Use a white curtain or diffuser to soften harsh sunlight.
Tip 2: Use a Reflector or Bounce Card
Balance the Shadows
When one side of your food is too dark, a reflector or bounce card helps even out the lighting by reflecting light back onto the shadows.
DIY Reflectors
- Use a piece of white foam board or aluminum foil.
- Position it opposite the main light source.
Tip 3: Choose the Right Background and Props
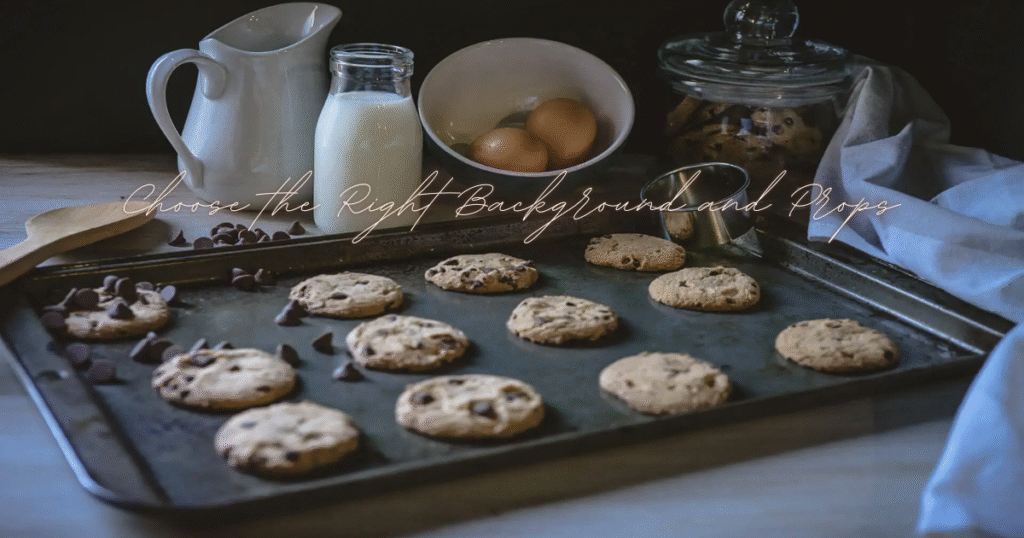
Keep It Simple Yet Relevant
The background should complement your food without stealing the spotlight. Props like utensils, plates, or napkins should align with the story you’re telling.
How to Style Effectively
- Use neutral or textured backgrounds like wood, marble, or linen.
- Avoid clutter; every item should serve a visual purpose.
- Stick to a consistent color palette.
Tip 4: Learn the Rule of Thirds
Improve Your Composition
The rule of thirds divides your frame into nine equal sections. Positioning key elements along these lines or at their intersections creates a more dynamic and balanced composition.
Implementation Tips
- Use your camera or phone’s grid overlay.
- Place the most eye-catching part of the food at a strategic point.
Tip 5: Experiment With Angles
Not All Foods Look Good From the Same Angle
Certain dishes look better from specific perspectives. Overhead shots are great for flat layouts, while side angles capture layers and textures.
Recommended Angles
- 90° (Overhead) for pizzas, flatbreads, or breakfast spreads.
- 45° for cakes, burgers, and plated meals.
- 0° (Eye level) for drinks, stacked items, or layered dishes.
Tip 6: Use a Tripod for Stability
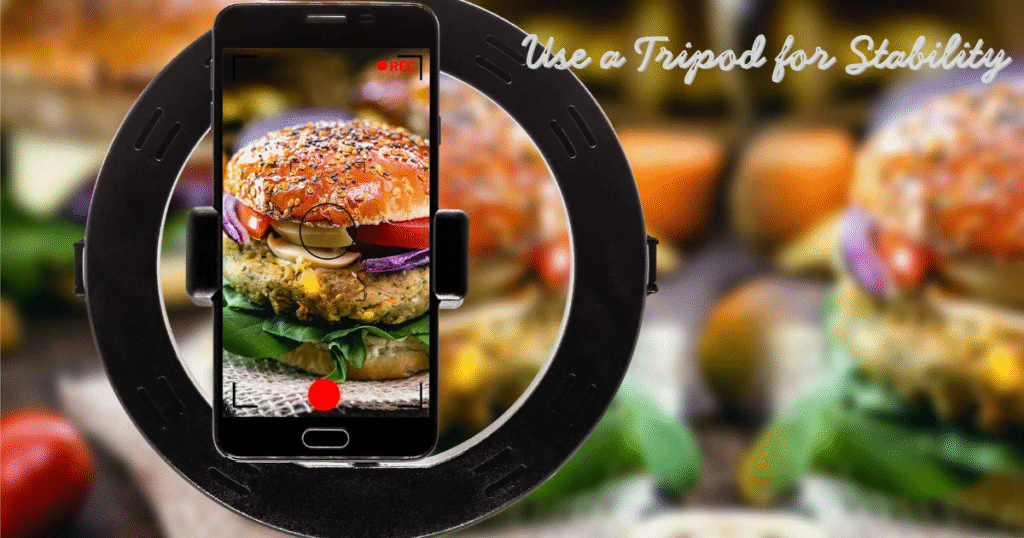
Why Stability Matters
Blurry images are a common issue, especially in low-light environments. A tripod eliminates camera shake and helps you shoot at slower shutter speeds.
Additional Benefits
- Perfect for staged scenes or pouring/action shots.
- Frees your hands to adjust props or lighting.
Tip 7: Master Depth of Field
Create a Visual Focus
Using a shallow depth of field (blurry background) draws attention to the subject and creates a professional look.
How to Achieve It
- Use a wide aperture (low f-stop number).
- Use portrait mode if shooting with a smartphone.
- Keep some background elements slightly visible for context.
Tip 8: Post-Processing Is Your Friend
Enhance Without Overdoing
Editing software helps correct lighting, color balance, and clarity. It should enhance the food’s natural appearance, not distort it.
Tools to Try
- Lightroom or Photoshop for desktop editing.
- Snapseed or VSCO for mobile adjustments.
What to Adjust
- Exposure and brightness
- White balance
- Contrast and sharpness
- Cropping and alignment
Tip 9: Tell a Story With Your Shot
Create Emotion and Connection
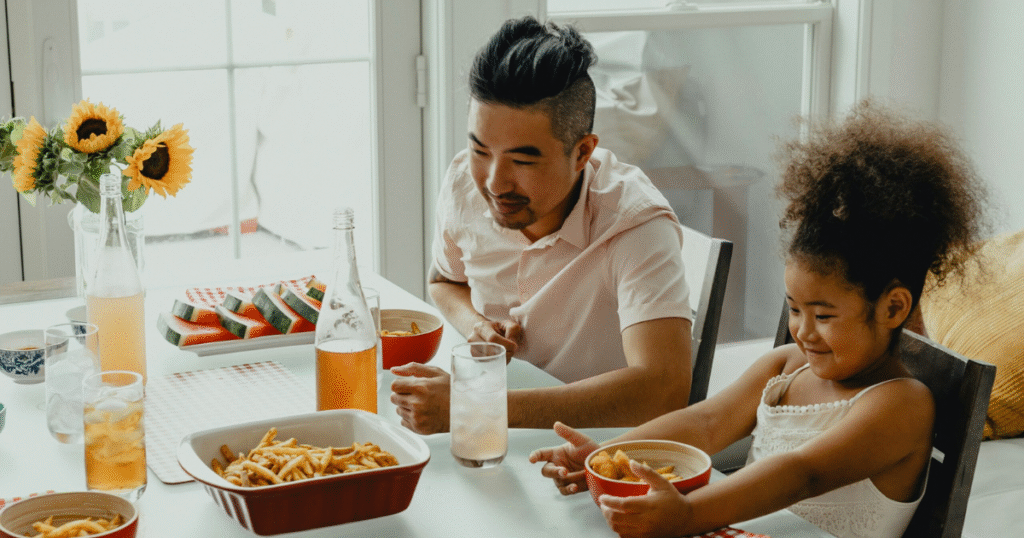
Every food photo should evoke a mood—comfort, freshness, indulgence, or tradition. Add elements that speak to the dish’s origin or ingredients.
Storytelling Examples
- Show hands preparing or serving the food.
- Include raw ingredients in the frame.
- Use complementary props like books, spices, or beverages.
Tip 10: Practice, Analyze, and Improve
Consistency Builds Mastery
Your first photos won’t be perfect, and that’s okay. Review your work regularly and note what works and what doesn’t.
Action Steps
- Replicate photos you admire and reverse-engineer them.
- Create a dedicated photography space or setup.
- Get feedback from online communities or photography groups.
Also Read : Exploring The Rich Flavors Of Ethnic Cuisine Around The World
Conclusion
Food photography is a beautiful blend of art and technique. By incorporating these top 10 tips—leveraging natural light, mastering composition, styling smartly, and editing subtly—you can take your photography from ordinary to outstanding. Remember, great food photos don’t just capture food; they capture experiences and emotions.
Whether you’re shooting with a smartphone or a DSLR, practice and patience are your best tools. Keep experimenting, stay inspired, and watch your food photography flourish.
FAQs
1. What is the best time of day for food photography?
The best time is during daylight hours, especially in the morning or late afternoon when the light is soft and diffused.
2. Can I use my phone for food photography?
Yes! Modern smartphones have excellent cameras and manual settings. Pair it with good lighting and editing apps for stunning results.
3. What camera settings are ideal for food photography?
Use a low ISO (100–400), a wide aperture (f/2.8–f/5.6 for shallow depth), and adjust shutter speed based on lighting.
4. How important is editing in food photography?
Editing is crucial for enhancing the natural look of the food, adjusting lighting, and improving overall image quality.
5. Should I always use natural light?
Natural light is ideal, but you can use soft artificial lighting if it mimics daylight. Avoid harsh direct flash.